The Forever Kit Instruction Guide
What You’ll Need:
The Forever Kit (chain, link lock & tools)
A clean, well-lit workspace
A friend to help (recommended!)
Using the pliers in your tool kit, you’ll want to gently twist your link lock to open it. You can use one pair of pliers to hold the link lock between your finger and then twist it, or you can grab each side of the link using both pairs of pliers in your tool kit and then twisting. You will need to twist each side opposite each other to open it. (See pictures)
Step One
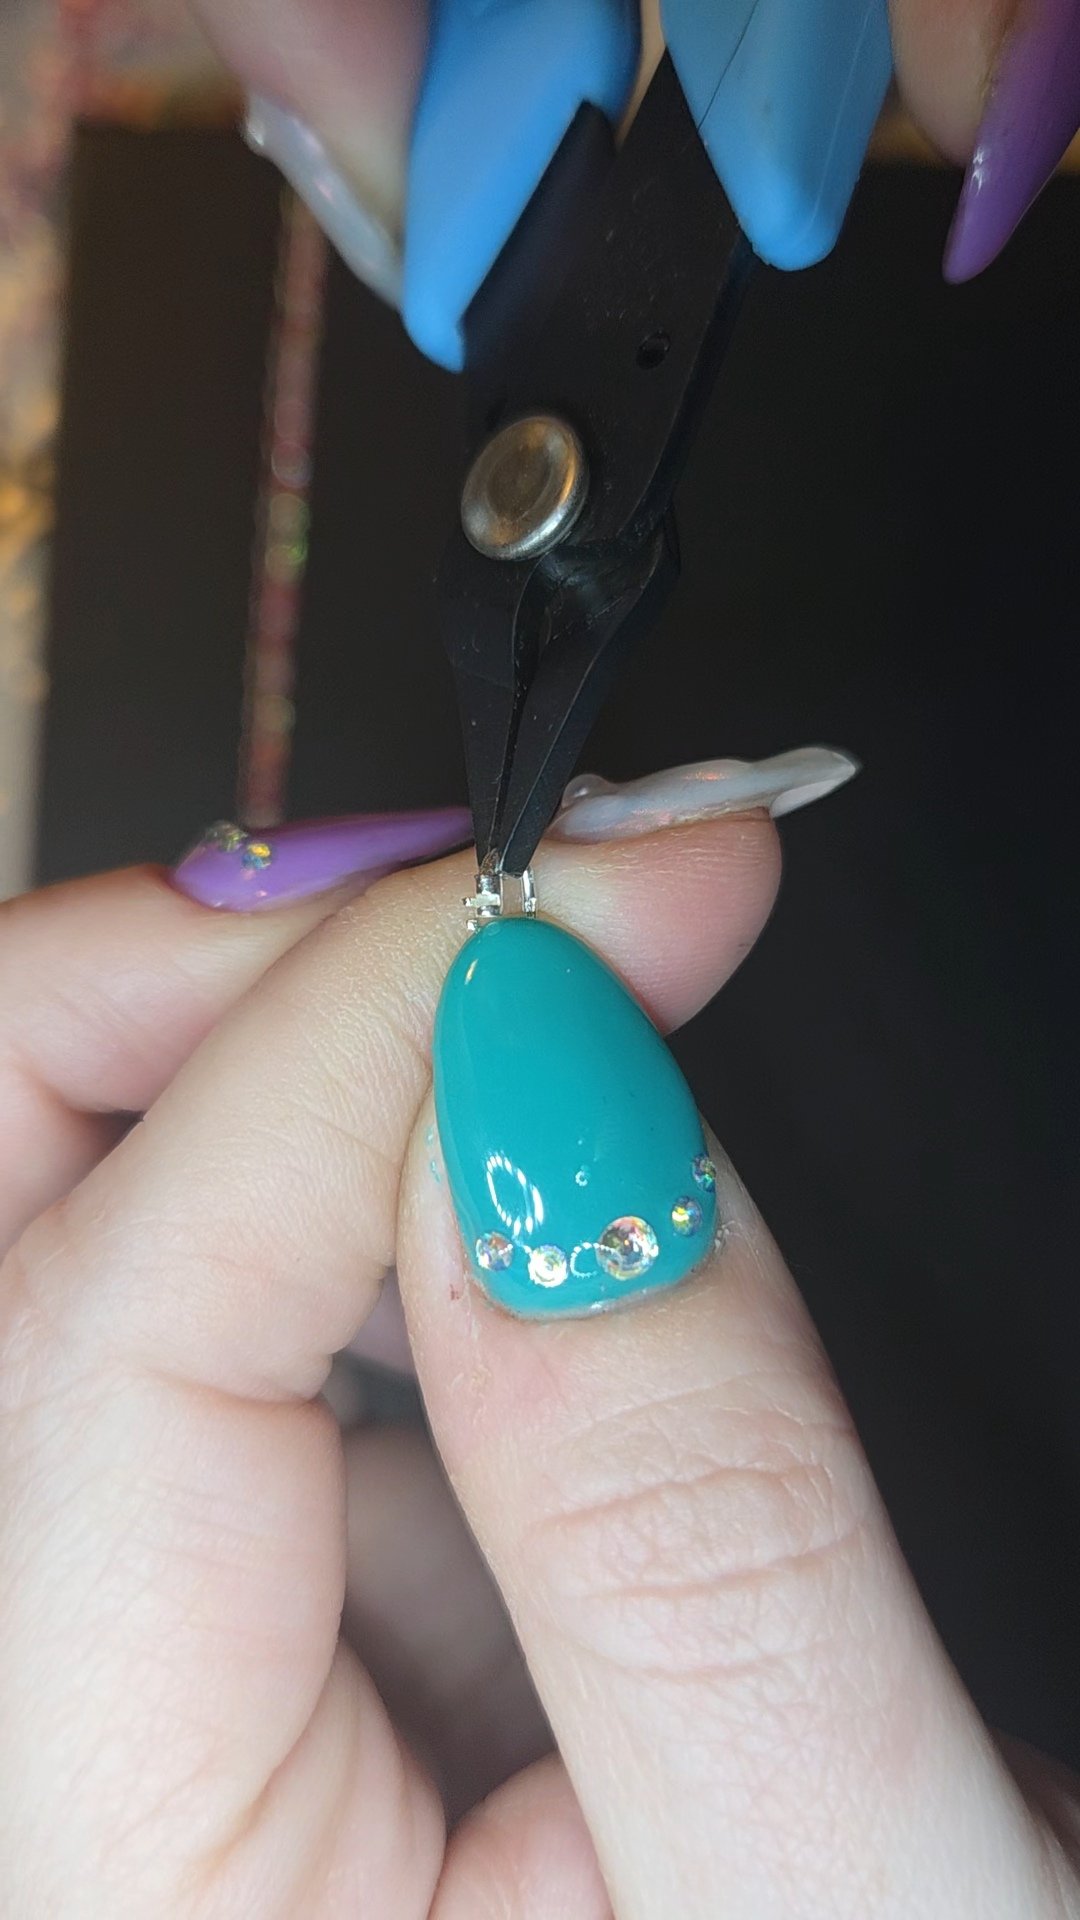

Locate the very last link at the end of one side of your chain. Put one side of your link lock through the end link of your chain. (See picture)
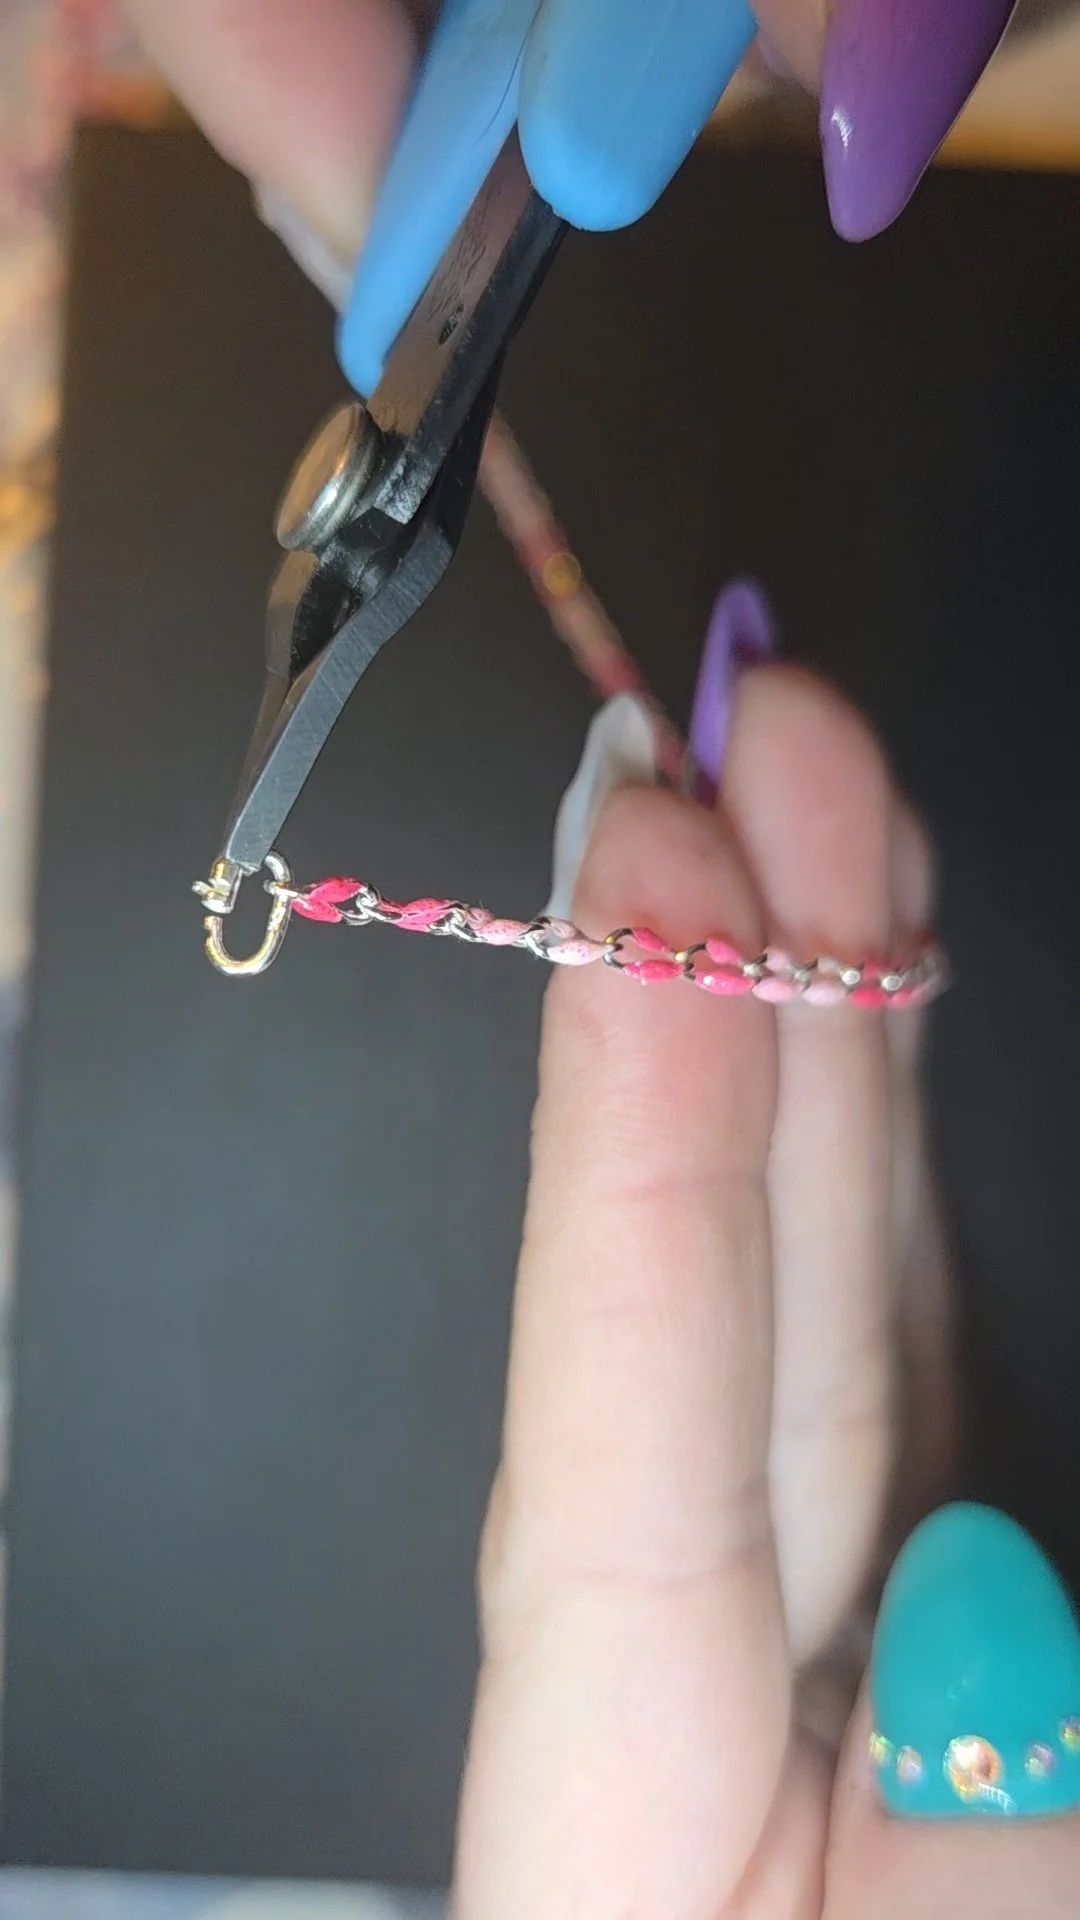
Step Two
Measuring your bracelet - here is where your friend comes in - but don’t worry, we have tips and tricks for doing this solo like the rockstar you are!
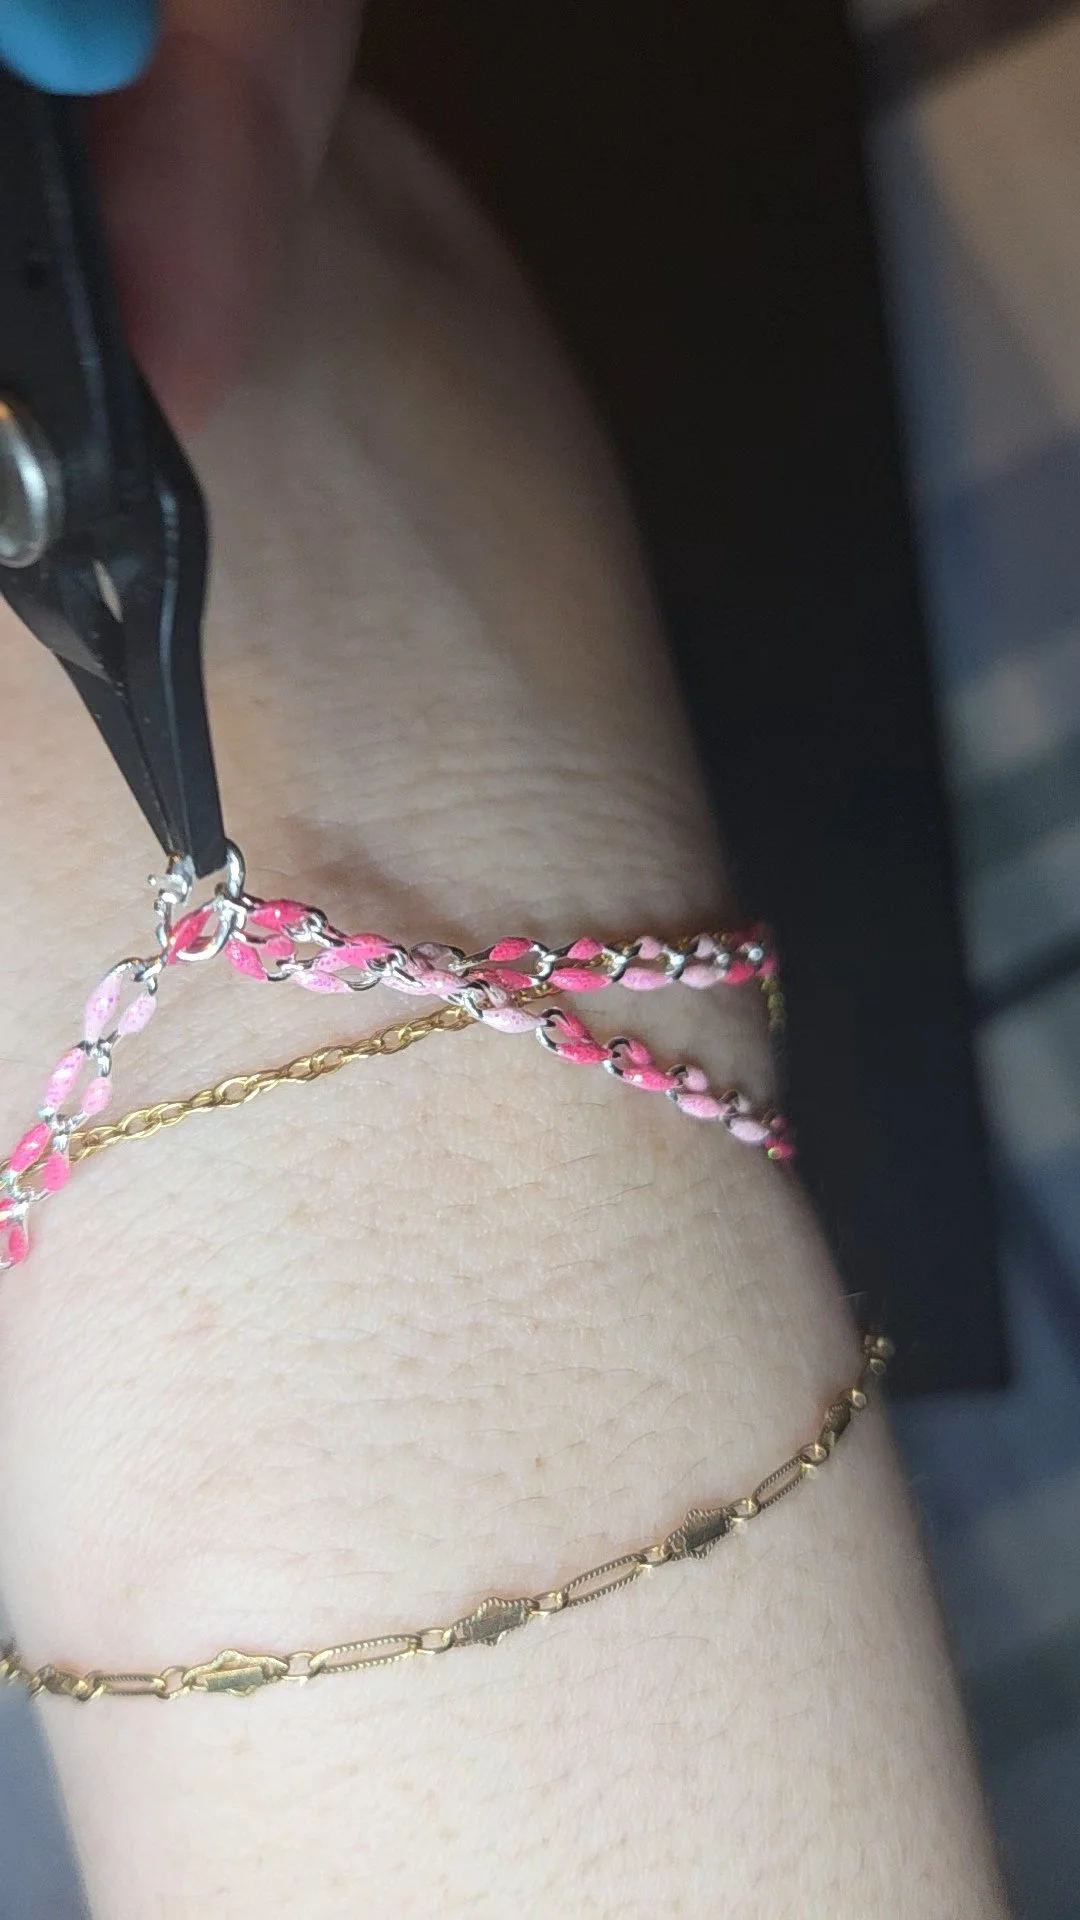
Holding the link lock with your pliers in one hand, gently wrap your chain around your wrist or ankle with your other. Once you’ve determined how and where you’d like your piece to sit, you’re going to put your link lock through the appropriate link on your chain. Permanent jewelry should feel snug but comfortable - not tight. We recommended being able to fit the tip of one finger under the chain. (See pictures)
*Tip: If you’re measuring your permanent jewelry bracelet by yourself, try laying the chain down on a flat surface with the link lock end of the chain opposite you. Lay your wrist on top of the chain, making sure to not place it directly in the middle, but more toward the end with the link lock. Keep in mind, laying your wrist on top of the chain will hold it in place, so the closer you place it towards the link lock end, the tighter your bracelet will be, and vice versa. Take the end closest to you and lay it over top of your wrist going away from you, Now, you will pick up the link lock end of your chain with the pliers from your tool kit, making sure to hold the link lock with the pliers, and bring it towards you to find the best link to attach your piece together for the perfect fit!
Step Three
You’re almost there! Now you are to close your link lock to secure your piece. Using both pairs of pliers you are going to grip each side of the link lock and gently twist it back to it’s original form. Then you need to push the them together to close your link lock, inserting one end into the opening of the other. Once that is done you can then gently squeeze down the little latch to secure it - and VOILA!
*Tip: If securing your piece by yourself, use the long needle nose pliers to grip the link lock on one side and grip the pliers with your hand on the arm you are putting your piece on to keep the link lock steady. Then, you can use your free hand to manipulate your link lock closed and secure it.
(See picture)
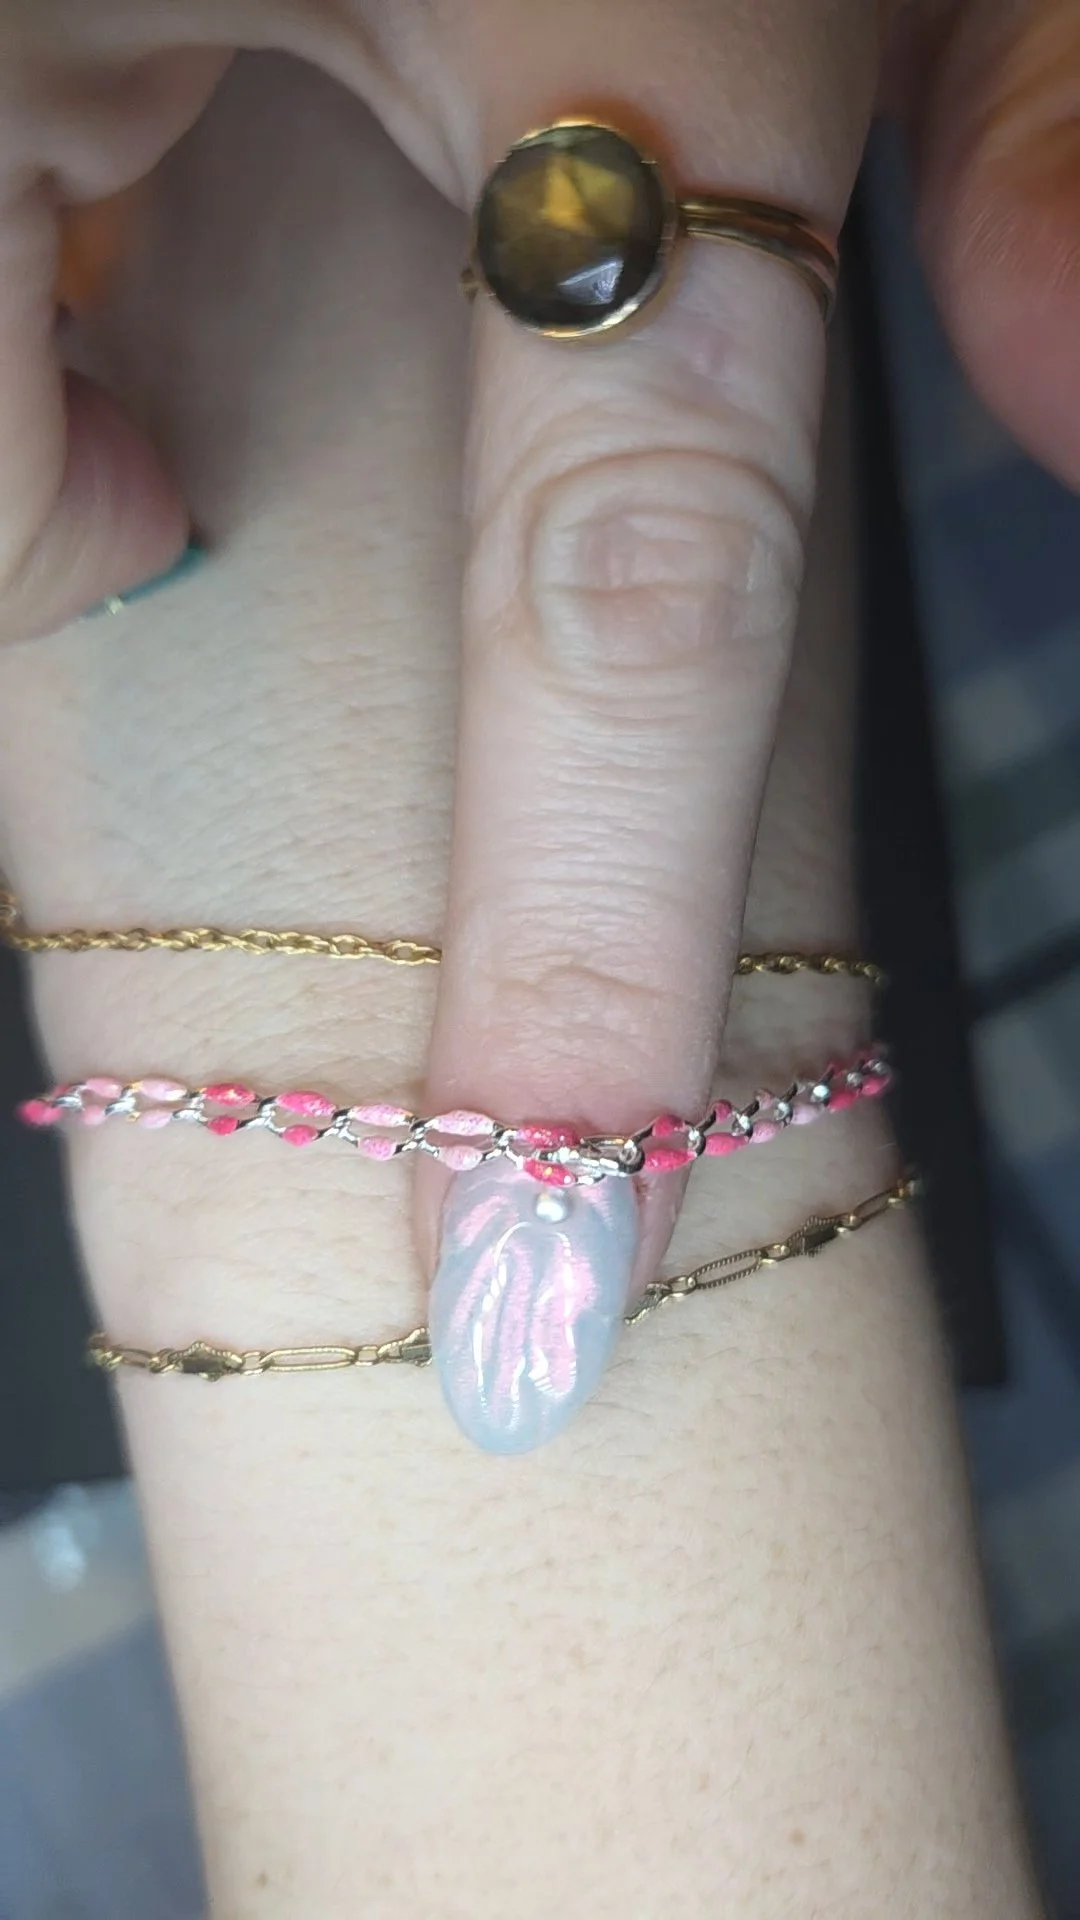
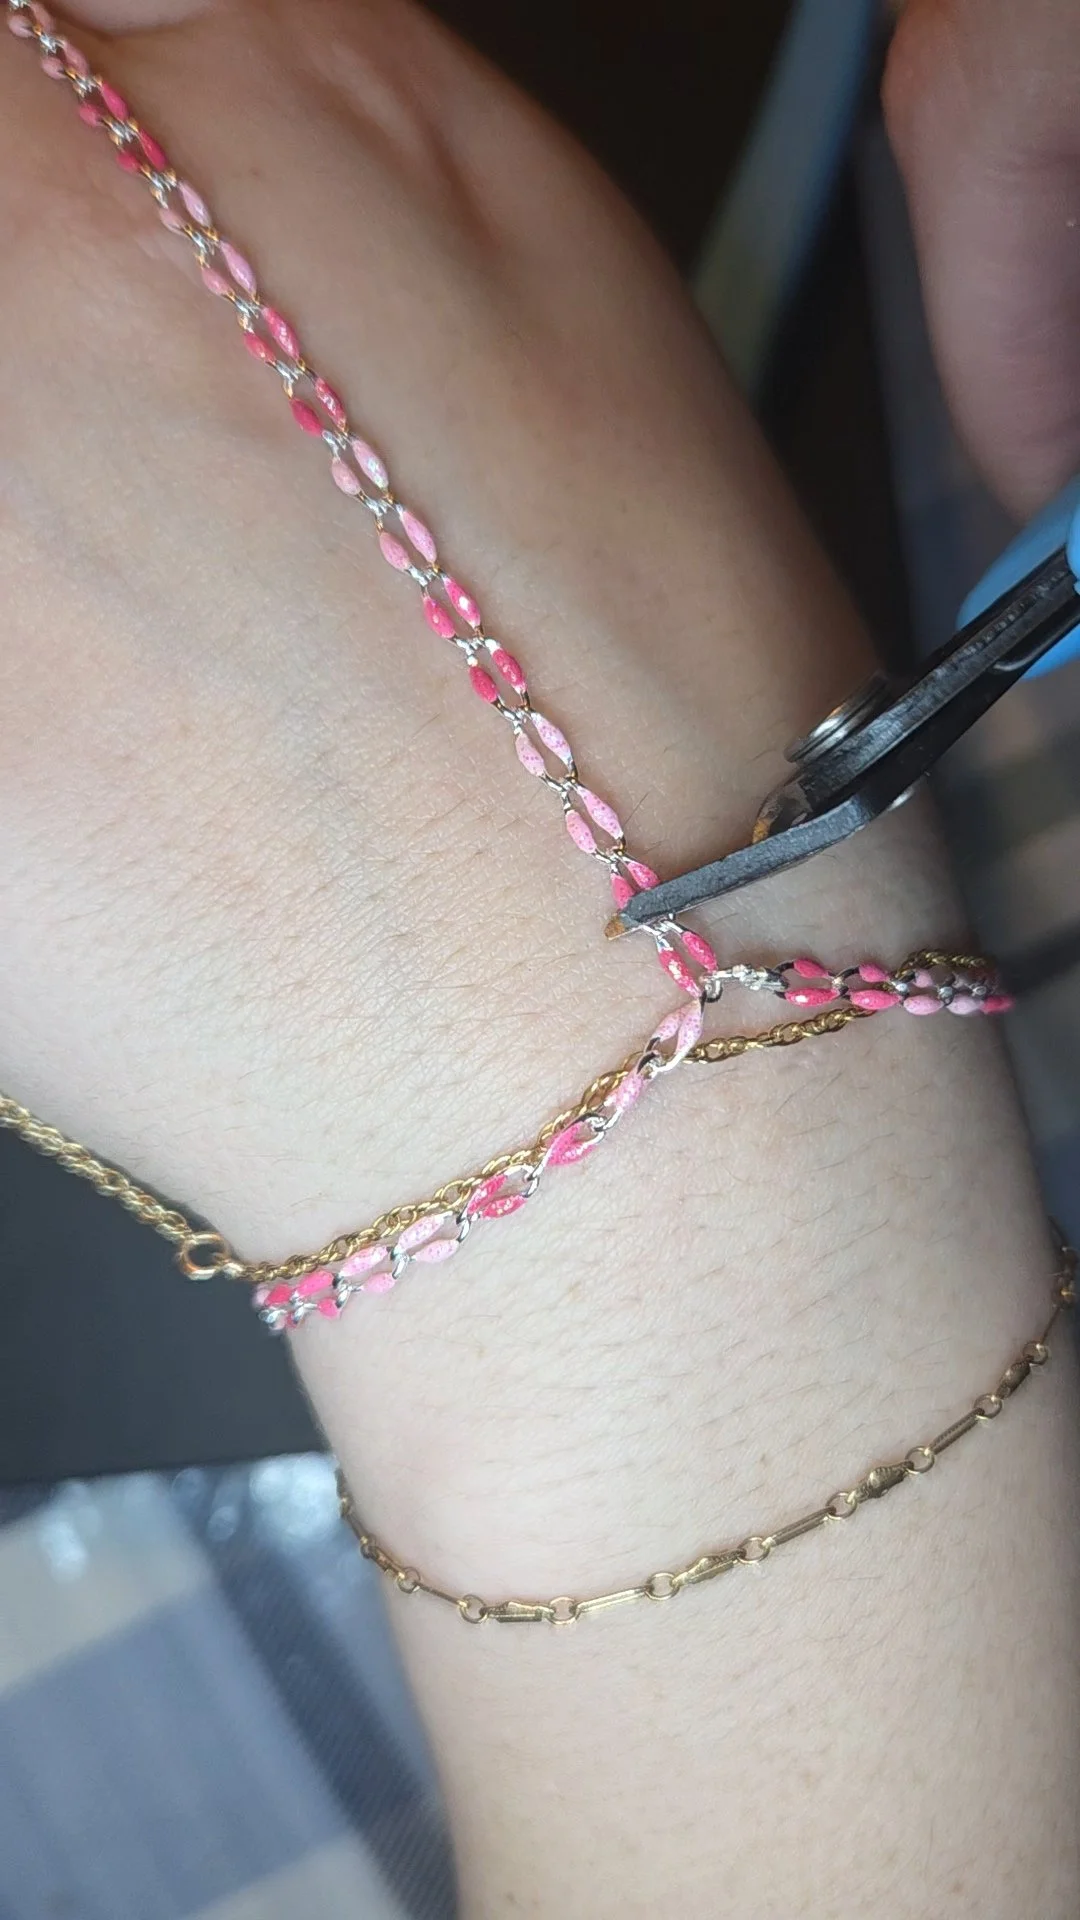
Step Five
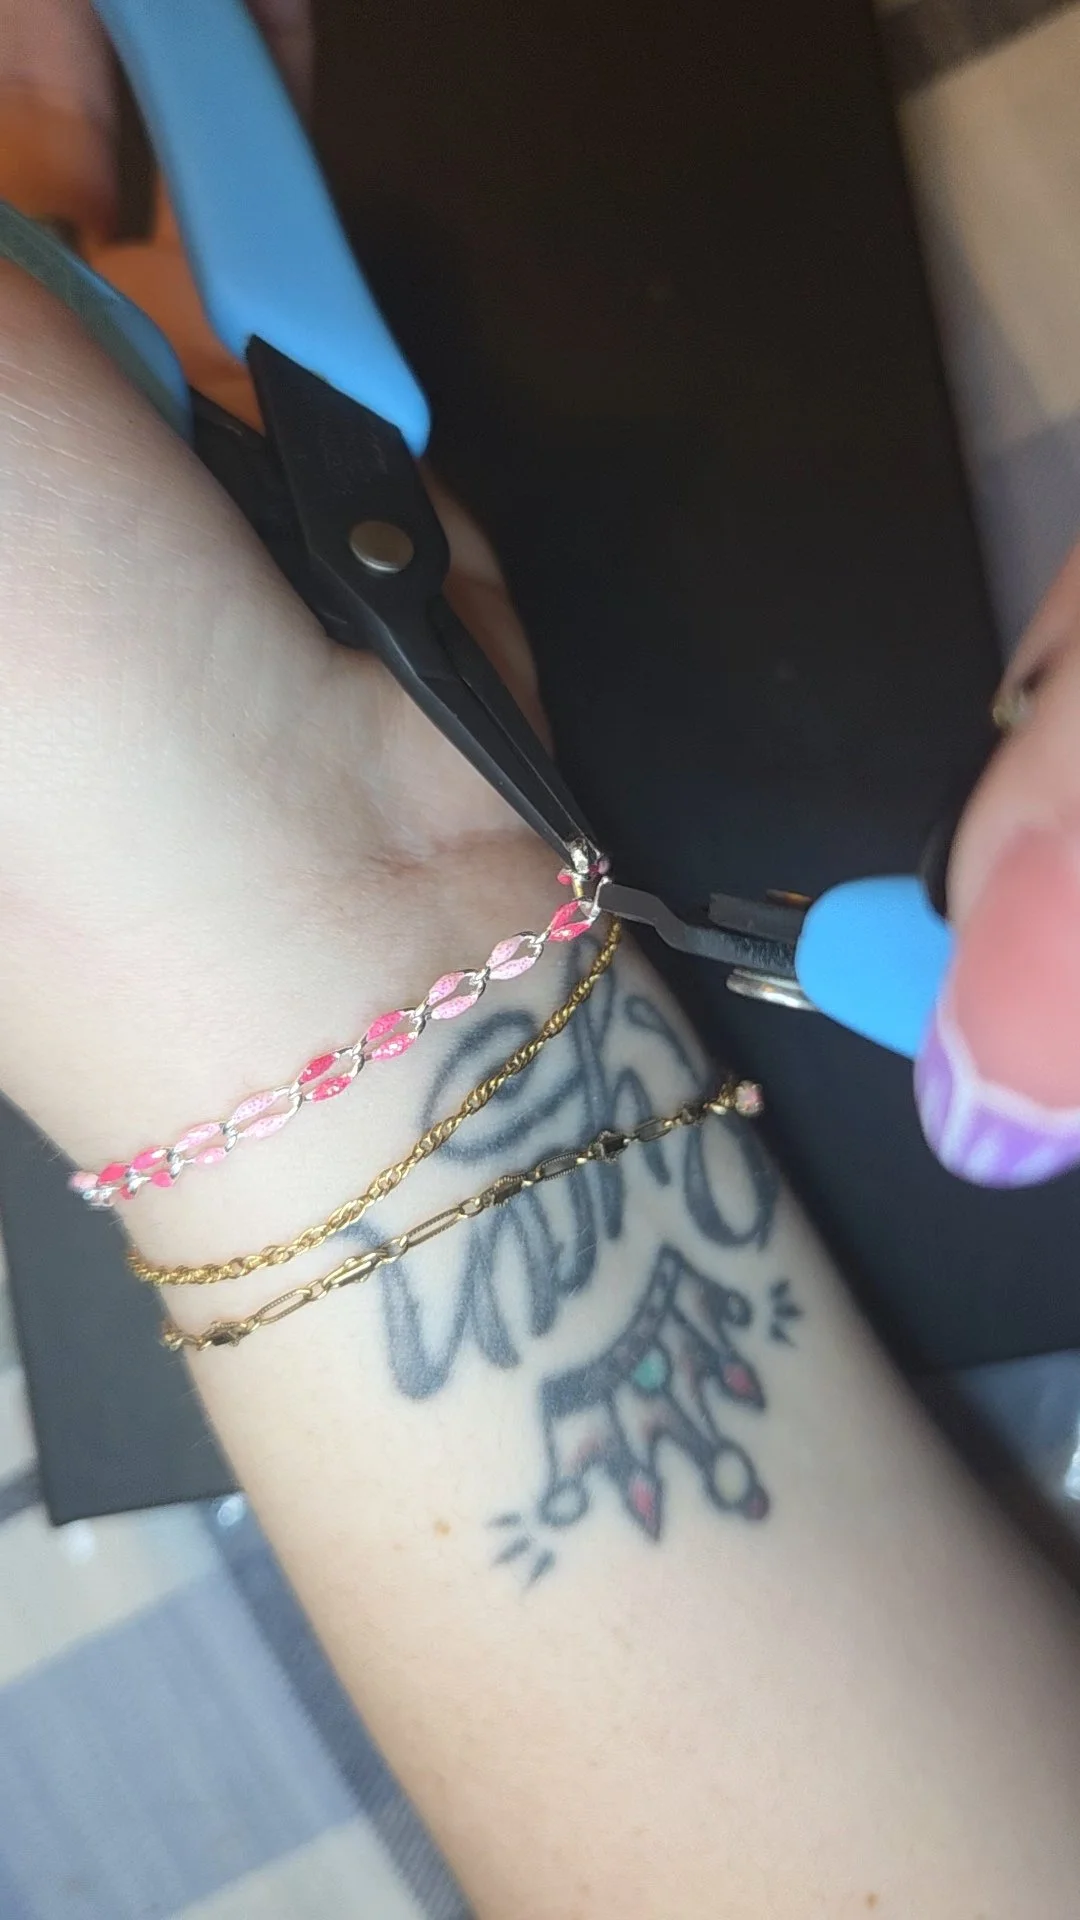
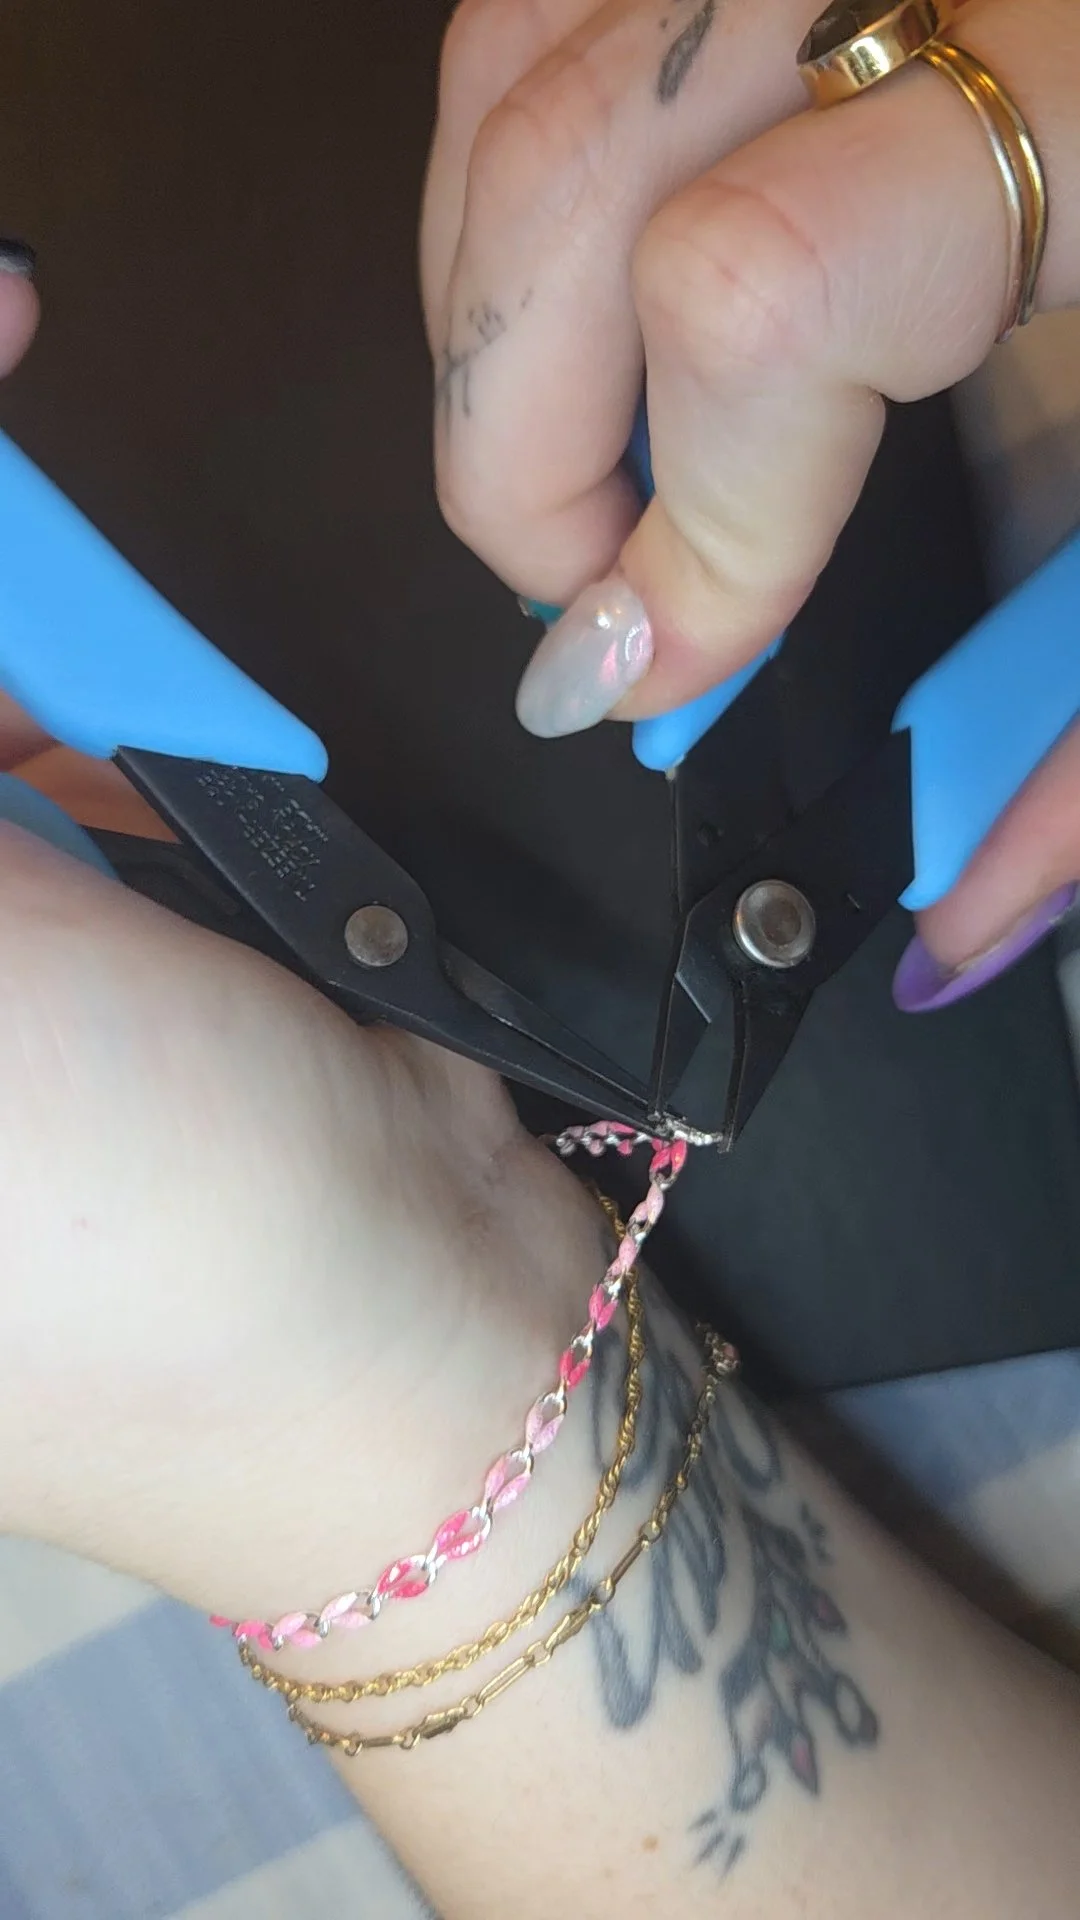
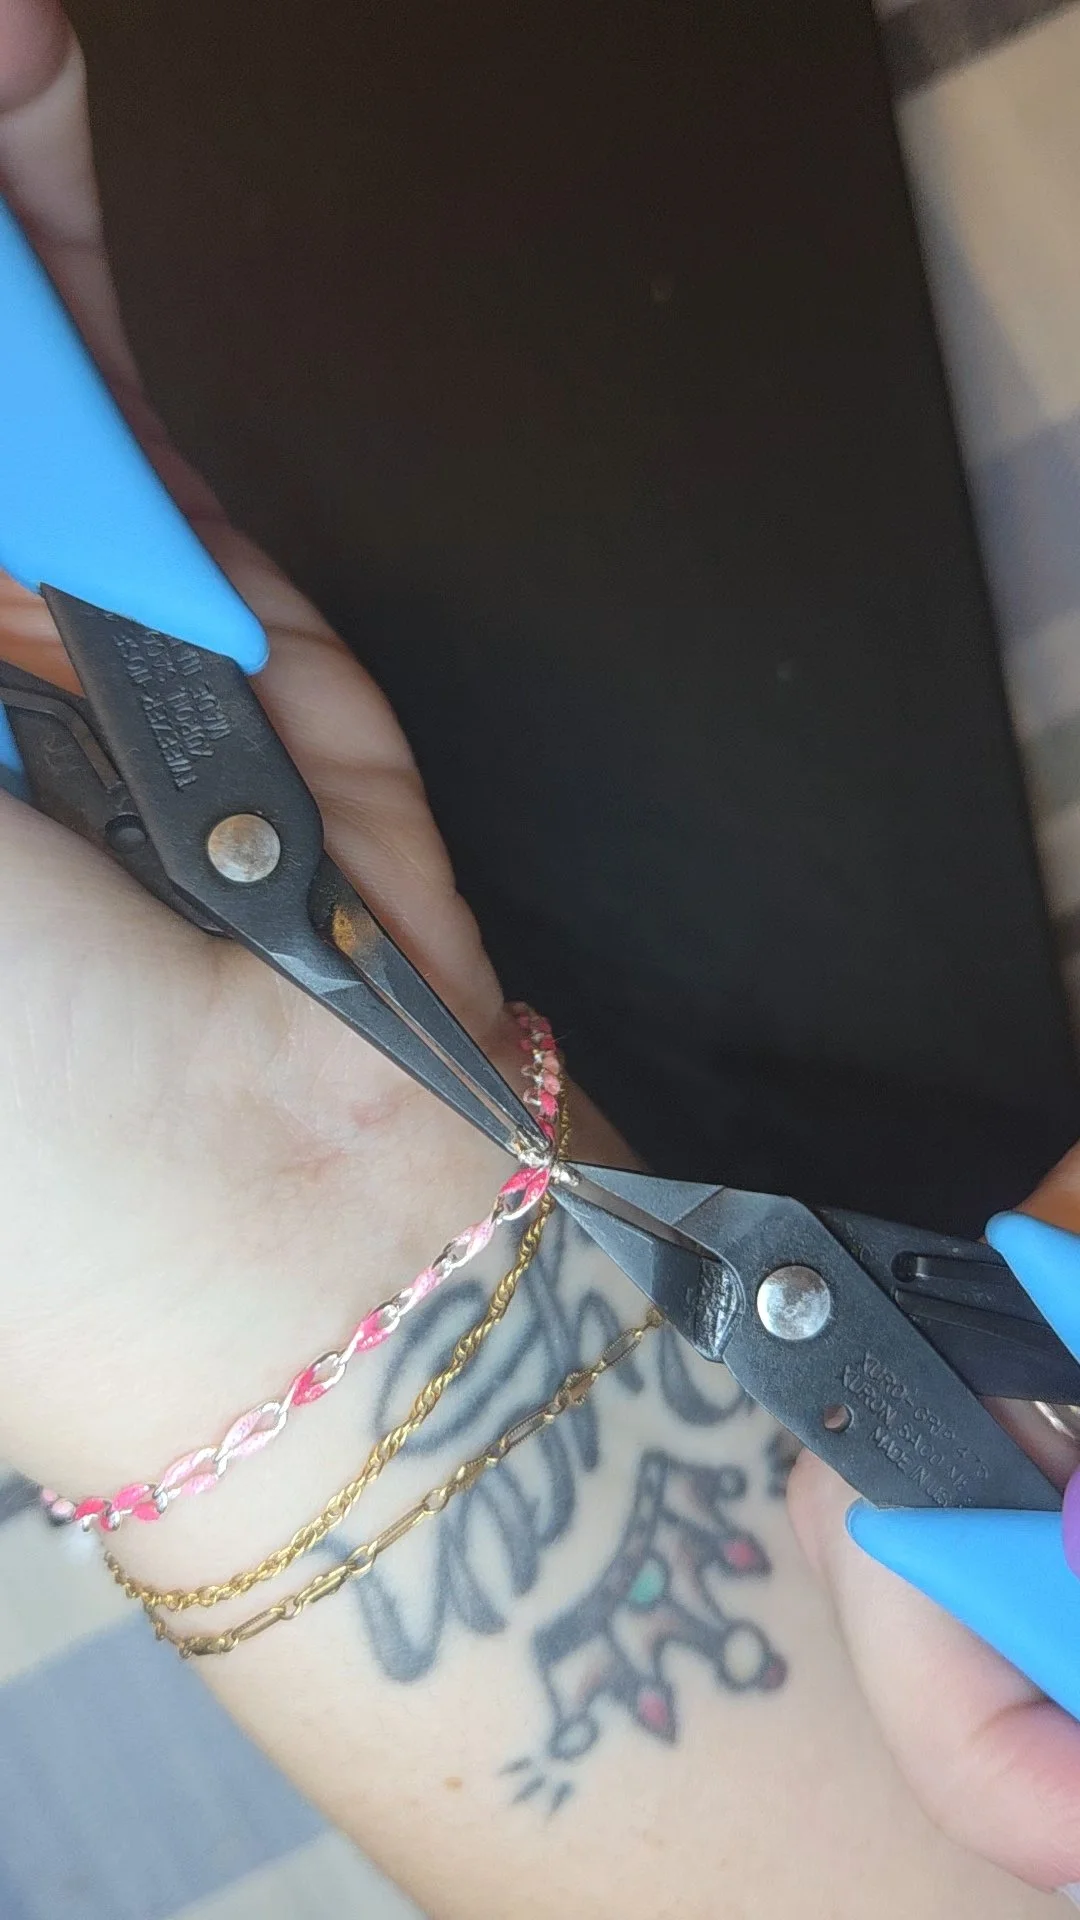
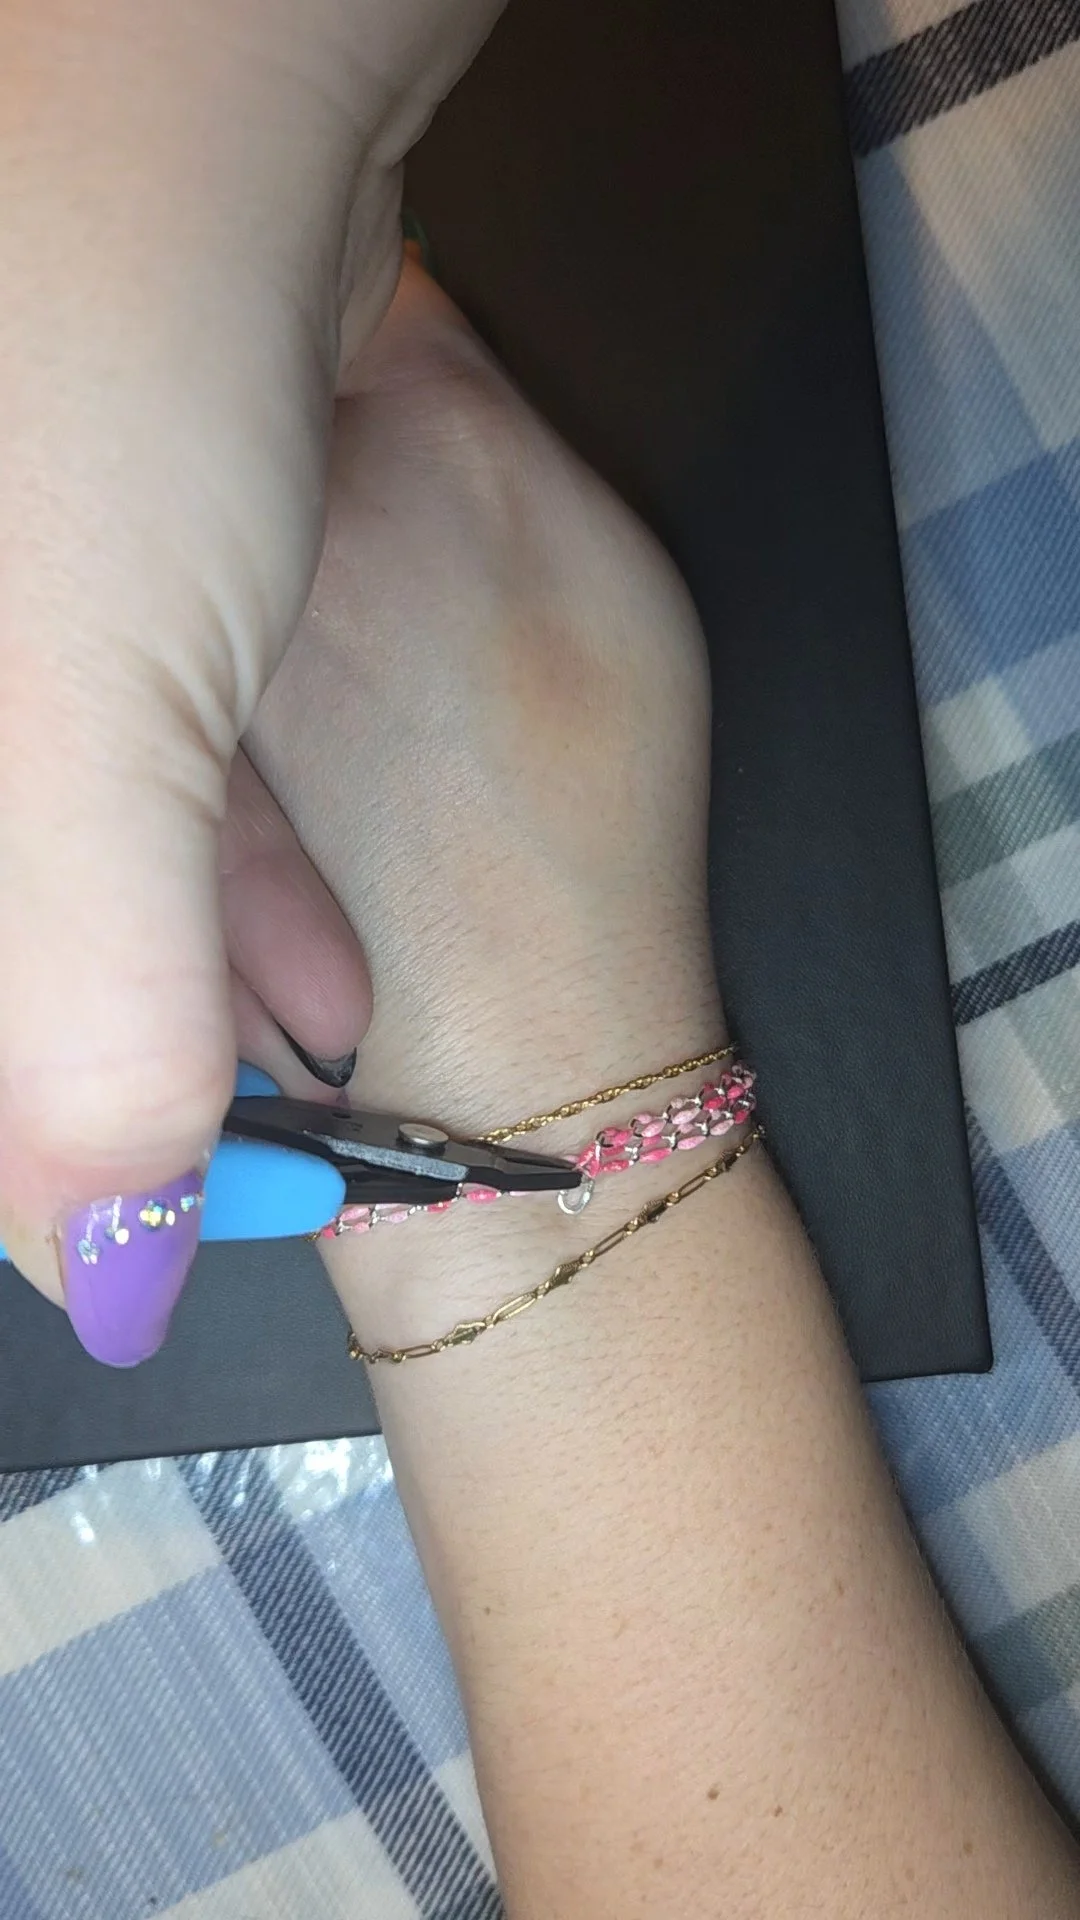
Locate the link directly next to the link where your link lock is attached to. That is the link you will to cut off the excess chain using the jewelry cutters in your tool kit. (See picture)
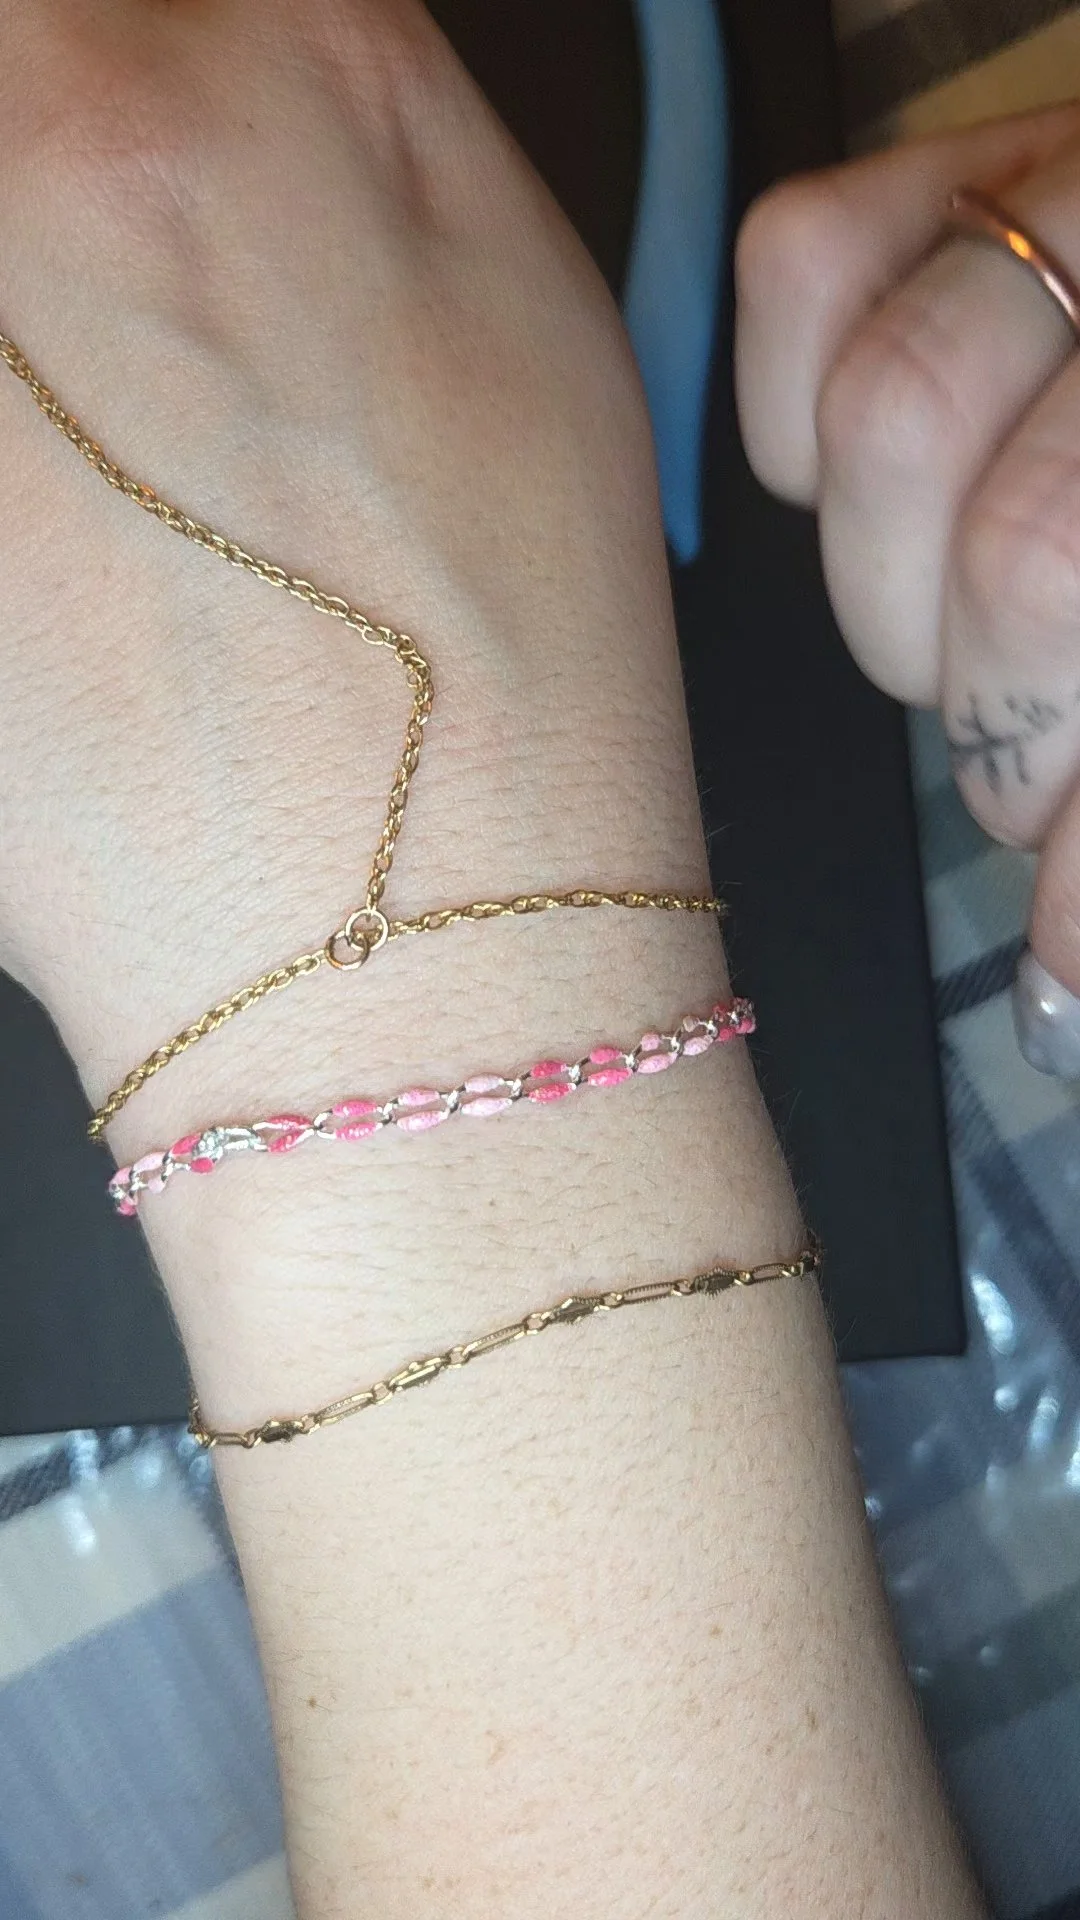
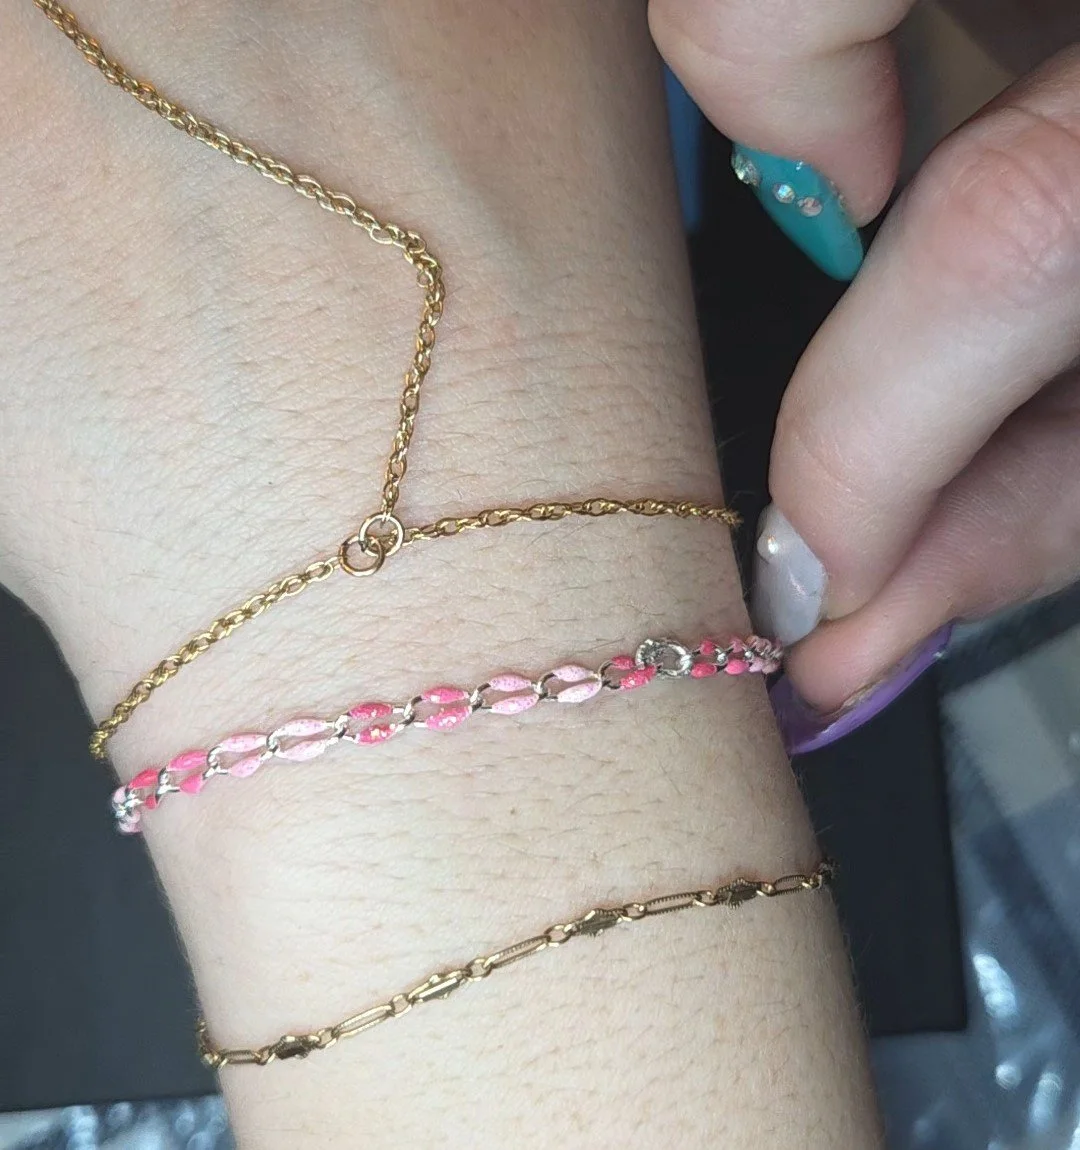
Step Four
Congratulations!
You’ve just created your very own permanent jewelry piece! Now your piece has even more meaning - you should be proud and admire your work ;)
Care & Important Notes
Avoid harsh chemicals and abrasive cleaners
Clean gently using our Aftercare Essentials or a mild soap and warm water
Remove jewelry if irritation occurs
The Forever Kit is intended for personal use only
Adult supervision is recommended for minors
If you ever need to remove your jewelry, carefully cut the chain with the jewelry cutters in your tool kit at the connection point.